
Warhammer Quest, Making your Tiles
This has been a super long time coming and I thank everyone for their patience 🙂
Whilst it is fun seeing new tile art for Warhammer Quest, and any other boardgame based table top game – printing and mounting the art is the least enjoyable part. The following demonstrates my technique and choices for mounting print-outs onto card for gameplay.
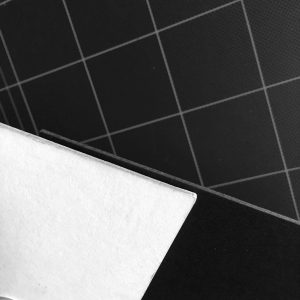
Firstly, find a decent thickness of cardstock. I discovered that presentation board (black cardstock available at most Art Supply stores) is nearly the same thickness as the original tiles for Warhammer Quest. I could fiddle around for ages, but this really is, the simplest go-to material.
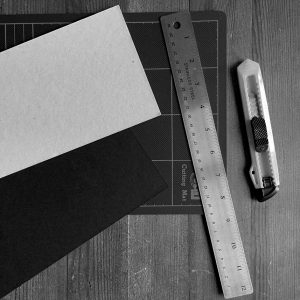
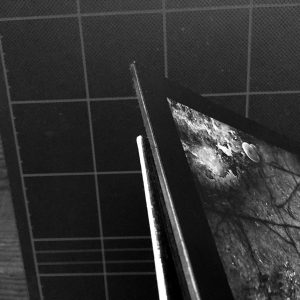
I then print out the tile art onto photo semi-gloss paper or in a pinch, high quality laser inkjet paper. Once I cut out the tile using a steel rule, sharp art blade and cutting mat (several careful cuts rather than a heavy single stroke works best), I mount the art onto a corner after fully pasting the reverse with a glue stick.

Next place a plastic film (or even shopping bag) overtop – then pile the heaviest books at your disposal atop that, overnight. (You can do this to a stack of tiles too)
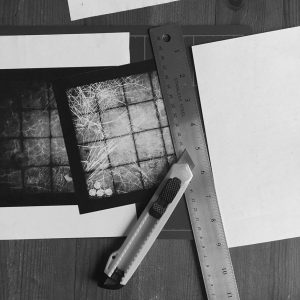
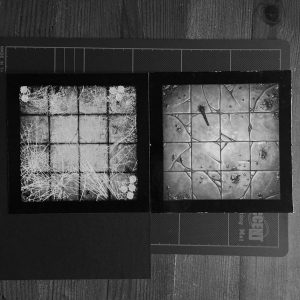
Next day, cut to the edge of the art (like the above print-out trimming) and presto – new game tile.
So quick recap:
– Print onto semi-gloss photo stock (or professional service option)
– Apply to presentation board (Art Supply store)
– Set over the day or night, trim excess carefully with art blade and steel ruler. (a few shallow cuts over one hard cut)
On my PDFs I include size of paper (A4 or A3) for 100% printing scale. I strongly recommend a quick draft print to check colour and lightness – these can be corrected by the printer or print program.
Hope this helps!
Sebastian 🙂


Great stuff. Thanks as ever for all your hard work. I’ll give this a try at the weekend.
Thanks! Enjoy and when you have a game, send in some photos – be great to start collecting everyone’s adventures surviving fan made tiles 🙂
Very useful hints on how to transfrom your bits in atoms or, on a much larger scale, from files to tiles XD XD XD
As always top notch contents Seb, thank you.
Cheers =)
Files to Tiles..augggh haha 😛
Thanks man – I’ll update this when I do the Scarab Tomb tile set 😉
Wonderful stuff as always… put the pic of the Barbarian on warseer
A black marker will clean up those edges nicely.
Aye – in fact I black edge even my originals too 🙂
What is your best advice for the Dungeon cards? Do you get them printed by a professional; or do you have any advice for mounting them from a laser inkjet printer too?
For best results, a printing house is always good. Printing for yourself on an inkjet, you can measure up a thin piece of card using the crop marks I’ve added to the artwork. You can then print out and then carefully glue to each side of printout to the card. There are ‘scrapbook’ tools that let you trim rounded corners – like a holepunch, but for corners.
They are fiddly additions for sure.
Hi there,
Can you link the type of presentation board you’re talking about? I went to a hobby store today and couldn’t find the right size of board. I ended up just getting some foam board which I’m not sure if I like or not. Thanks!
Hi Charles, thats very frustrating – I am suprised none was availale. Presentation board, as I used for design meets, is about 2.5-3mm thick, very sturdy cardstock – normally available in A4 or A3 sheets (International measurements). I spied some eamples here: https://www.gordonharris.co.nz/category/1692-crescent-black-grey-boards – a very stout and thick card. Hope you can show examples to your local supplier for office or art goods!
Foam core is a good choice, if thicker; but it is great for terrain building or creating slightly elevated sections of your boards, say print out two temples, and past the altar portion on the foamcoare to create a subtle height difference atop the full print out 🙂